


Background
There was a time when you wanted to install a PHP library on your project. You had to manually download the zip file, extract it and copy the relevant files to your project. You had to manage any updates that occurred, which was inconvenient.
Composer essentially solves this problem. It's a dependency management tool for PHP packages. You can install or remove any package without hassle, and don't forget that it manages package dependencies for you. I am using terms like package and library, but don't get confused; at the end, it's just PHP code.
As a developer, it's good to contribute to the PHP community. So Composer allows a convenient way to share your code with others. Let's start with building a simple Composer package that greets "Hello World"
Creating a Composer file
You need to have Composer installed on your machine. If you haven't, please follow these steps to install it.
To check which Composer version is installed, run the command composer --version. You'll see something like Composer version 2.0.8 2020-12-03 17:20:38.
Awesome, so now that we have Composer installed, let's begin by creating a composer.json file
Create a folder helloworld and cd to that folder. On the terminal, do
composer.init
Follow the steps on the screen.
Package name (<vendor>/<name>) [pradiplimbu/helloworld]: pradiplimbu/helloworld
Description []: A simple hello world package
Author [Pradip <pradiplimbu23@hotmail.com>, n to skip]:
Minimum Stability []:
License []:
Package Type (e.g. library, project, metapackage, composer-plugin) []:
Do you confirm generation [yes]? yes
This will generate a configuration file, as shown below. Sweet!
{
    "name": "pradiplimbu/helloworld",
    "description": "A simple hello world package",
    "authors": [
        {
            "name": "Pradip",
            "email": "pradiplimbu23@hotmail.com"
        }
    ],
}
Project structure
Setup the folder structure as below.
helloworld (project root)
|-- composer.json
|-- src
|---- HelloWorld.php
|-- index.php
Here, src is the directory where we pull all the PHP source code. Please keep in mind that it is not required to be named src. Let's create a HelloWorld class that consists of the greet method.
<?php

namespace Pradip\App;

class HelloWorld
{
    public function greet(): string
    {
        return 'Hello World!';
    }

}
We need a way to automatically load all the files in the src directory. Edit composer.json and add this
    "autoload": {
        "psr-4": {
            "Pradip\\App\\": "src"
        }
    }
composer dump-autoload
Here we are following the PSR-4 standard. This basically tells Composer which files need to be loaded. Here, Composer knows to look at all the files within namespace Pradip\App inside src directory. Now lets create index.php file and invoke the greet method.
<?php

require_once 'vendor/autoload.php';

$class = new \Pradip\App\HelloWorld();
echo $class->greet();
We we call the greet method we get Hello World. Nice!
$ php index.php
Hello World!
Write a unit test
It's good practice to write a unit test. Let's install phpunit.
composer require --dev phpunit/phpunit
Create a tests folder in the project root. Inside create a HelloWorldTest.php file
<?php

use PHPUnit\Framework\TestCase;

class HelloWorldTest extends TestCase
{
    public function testGreet(): void
    {
        $class = new \Pradip\App\HelloWorld();
        $this->assertSame('Hello World!', $class->greet());
    }

}
Here we are asserting that the value return from HelloWorld::greet() returns a string Hello World!. Awesome! We have both wrote a method and a unit test for it. Let's run the test.
./vendor/bin/phpunit  tests
PHPUnit 9.5.26 by Sebastian Bergmann and contributors.

.                                                                   1 / 1 (100%)

Time: 00:00.003, Memory: 4.00 MB

OK (1 test, 1 assertion)
Yay, it ran successfully, and we have 100% test coverage.
Our package is ready; now we need to publish it so that other developers can use it. But first, we need to host it somewhere, such as on GitHub.
Hosting our package
Create a repository in GitHub with a name helloworld. If you don't know how to do it, You can follow this link. Now, In your project folder
git init
git remote add origin git@github.com:pradiplimbu/helloworld.git
This will link your current directory with your remote repository in GitHub. Let create .gitignore and add vendordirectory so that it is not tracked by git.
git add *
git commit -m "Hello World Package Initial Setup"
git tag 1.0.0
git push origin 1.0.0
Here we added the change and committed with a commit message. We tag it using semantic versioning major.minor.patch to release our first version 1.0.0. Please find this link to learn more. Packagist account will sync with your GitHub account for any future releases.
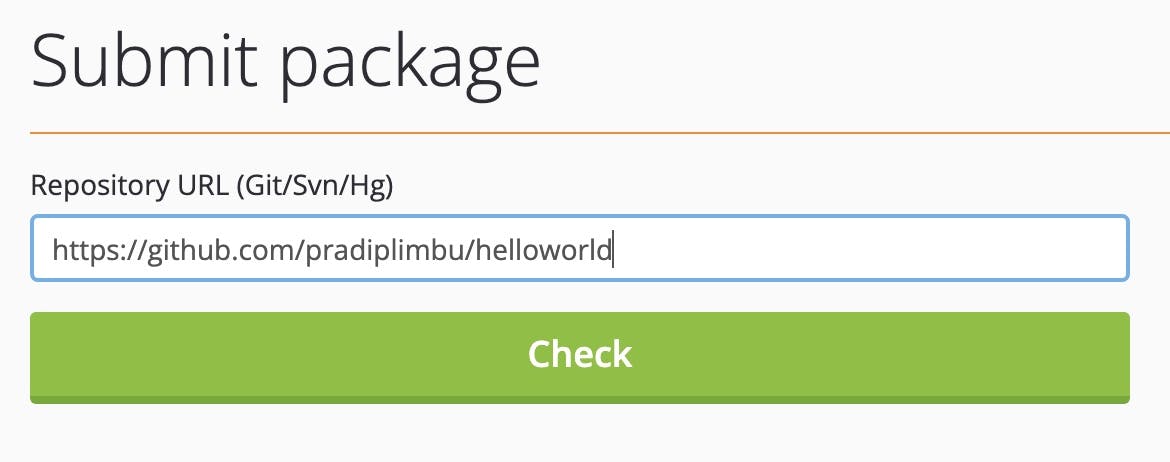
Publishing our package
Let's submit our package to Packagist. Create an account and submit the repository URL, then click check, if package is found, Packagist will then ask you to submit.
Summary
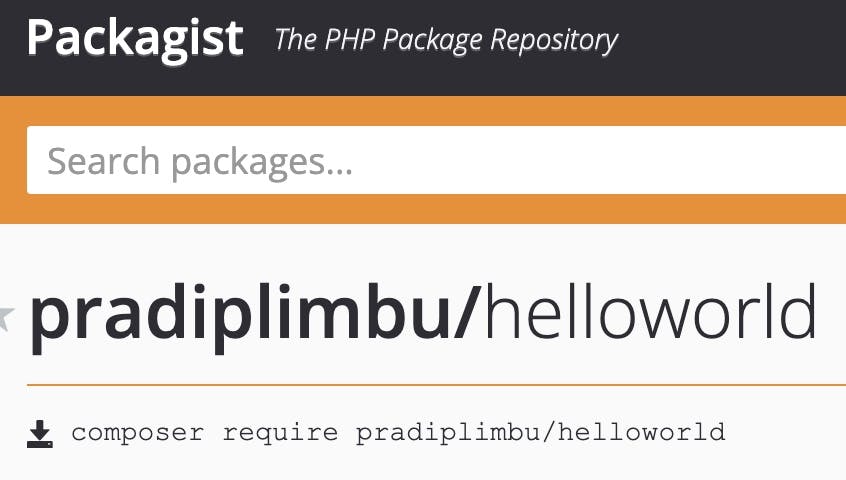
Congratulations 🎉🎉🎉 If you have followed from the start, you have now successfully created your first package, added unit tests, hosted it in GitHub, and published it on Packagist. You can now download it.
composer require pradiplimbu/helloworld
Thank you for reading; I hope you will continue to create awesome packages. If you find my article useful, you can support me by buying me a coffee using the button below.